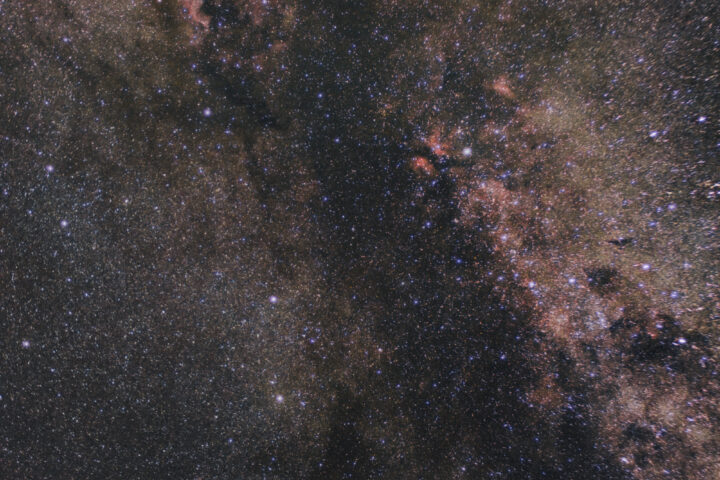
Nebula pictures are great. They are challenging, fun to take, and the end result is stunning. However, is it art or science? Despite the considerable technical challenges and numerous techniques used to ensure the fidelity of the data, neat nebula photos aren’t always scientifically relevant, especially since location, equipment, and time pose a significant limitation on how deeply I can look into space.
So I asked myself, what can I do for science? Turns out that amateur astronomers are a great resource for variable star observation. There are few astronomical observatories in the world, and they are on tight schedules. Variable stars are often not the priority. Also, most variable stars are not super faint. Amateur astronomers can thus contribute by imaging these variable stars frequently and reacting quickly to any observation requests. AAVSO is an organization that coordinates these observations and gathers all the data.
What is Photometry?
So let’s take photos of these variable stars! Taking scientific images requires a little more precaution compared to “normal” astrophotos. Mainly:
- Calibration is absolutely required. Darks, flats, dark flats, and bias frames. All to ensure no systematic error affects your images and your measurements. In normal astrophotos, you can use background extraction and all those fancy tools. Not here.
- You need accurate time. You’re imaging a time-varying system, so you can’t rely on your camera’s internal clock. This was a huge problem for me, as it forced me to use the Canon 5D instead of the more modern, less noisy but not computer-controllable Olympus Pen-F. Bummer.
- You will take blurry photos. You want to sample the brightness of your stars over multiple pixels to avoid saturating your image, and also have statistics help you determine the brightness of your star more accurately.
- Composition is important. In your image, you need to include non-variable stars of similar brightness as reference and check stars, which we will outline later.
Once you gather and calibrate your data, you have to process it photometrically. In my case, I used multi-aperture photometry in AstroImageJ. In a nutshell:

After all this process, a handy dandy spreadsheet is used to process and export the data for AAVSO submission.
Why Beta Cephei?
For my first time, I wanted a relatively bright target that I could image in a single night. With a period of 4.6 hours and an apparent magnitude range of 3.16 to 3.27, Beta Cephei was a great candidate, even if a larger magnitude variation would’ve been nicer. This is the star field from my telescope, next to an image from the Variable Star Plotter, a tool from AAVSO which tells you good candidates for check/comparison stars.


Results
So, here is the light curve I captured! A series of 10s exposures spaced out every 2.5 minutes.

You can definitely see a variation in magnitude! Success!!!
Final considerations
So the data looks pretty good, but there is definitely room for improvement. First of all, Beta Cephei ended up being too bright. All the reference/check stars in the frame were much fainter, meaning that the dynamic range of the now aging 5D was getting challenged. This led to quite some noise, which reveals itself if we add error bars to our measurement.

There is a workaround to this though. Instead of taking a single 10s exposure and waiting 2.5 mins, I can take N*10s exposures and wait less. In post processing, I’d then stack the N frames into a single one, reducing noise, and only run photometry on the stacked frames.
This leads to the same overall data rate but with much better noise performance thanks to stacking. However, it’s quite tedious on the post processing side since you have to do the stacking, and adjust the metadata of the stacked frames to set the overall capture time at the middle time of the N frames. For a first attempt, I’m still quite happy!
Hope you enjoyed reading the article, and clear skies!