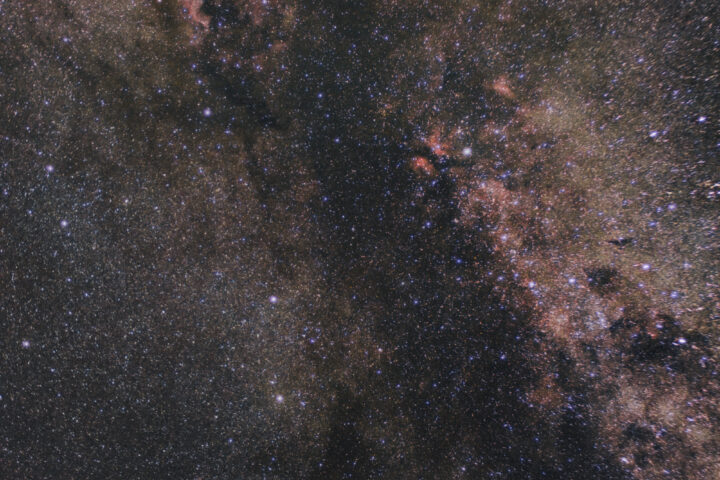
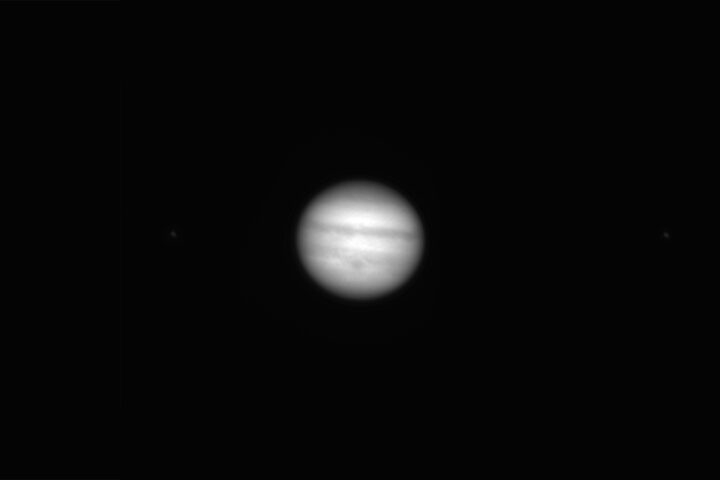
Everyone is going back to their winter residences, the temperatures are getting colder and the town I live in during the summer break is emptying. But I still have some astronomy to do, so, two days before going back to the city, I decide to stay awake for a last, glorious astrophotography night in my garden. That night I practiced two different types of astronomy, on two different targets, but in this post I’ll focus on M31, the Andromeda Galaxy.

CAMERA: Canon EOS 5D (unmodified)
TELESCOPE: SkyWatcher 130PDS (650mm f/5)
MOUNT: Skywatcher EQ-3 Pro Synscan
GUIDING: QHY5L-II monochrome + Celestron Firstscope 76
EXPOSURES: 12*300s unfiltered ISO 800
LIGHT POLLUTION: Bortle class 5
Capture
This is my very first deep sky image taken through the Canon 5D. Compared to the Pen F, this camera has a great advantage: it connects to KStars, my imaging software of choice, using the Canon DSLR driver.
My custom shutter cable lets me automate capture with both cameras. However the direct connection still has many benefits, such as image files being saved directly on the computer in the FITS format, plate solving, more precise focusing and more accurate timestamps.
Calibration frames
Flats and bias frames were taken the day after: I just made sure to lock the focus position and went to bed after 8 hours spent in the garden. However, initially I had not taken darks. It was only after stacking the images that realized what a mistake it was. There were strange patterns on the stack that rendered all the night’s work useless. At that point, I opened all the windows and doors to better approximate outside temperature and let my camera shoot those darks.


As you can see, even the first dark frame (left) was far from plain black and, as the temperature rose, things only got worse (right). After all, the 5D is literally as old as me. Luckily, these darks worked perfectly and the image was saved.
Processing
Deep Sky Stacker was not working so I had to AstroImageJ’s Data Processor to calibrate the images and only after that stacked them in DSS, with 2x drizzling. After this adventure, I could finally open the image in Photoshop. I manually removed all sorts of gradients, as Siril’s background extraction was ineffective, and then used SCNR (in Siril this time) to remove the strong green tint.


After that, it was just a matter of normal editing.
Conclusion
Considering the age of the camera and the temperatures of southern Italy, which introduced a decent amount of noise, I’m very satisfied with the image. Next time I’ll try with the newer Pen-F and more integration time.
In this occasion, however, I was forced to use the 5D as the more precise timestamps were needed for the second target of the night. Here’s a little spoiler of the project.